On this page:

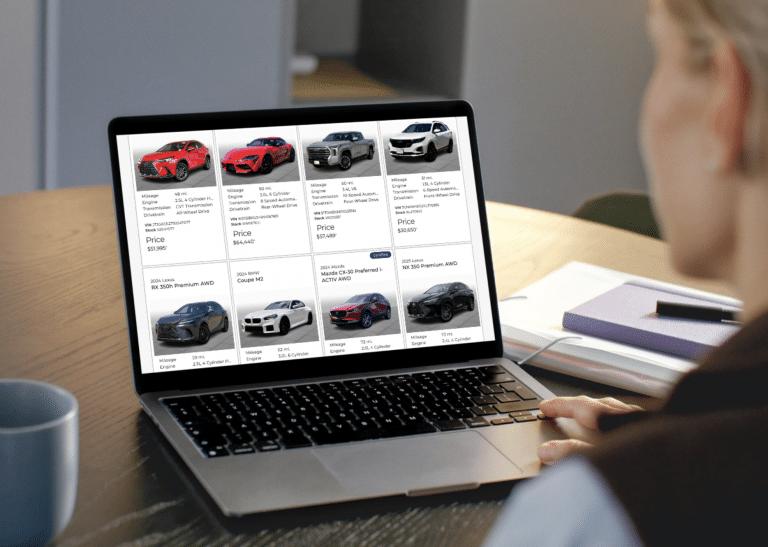
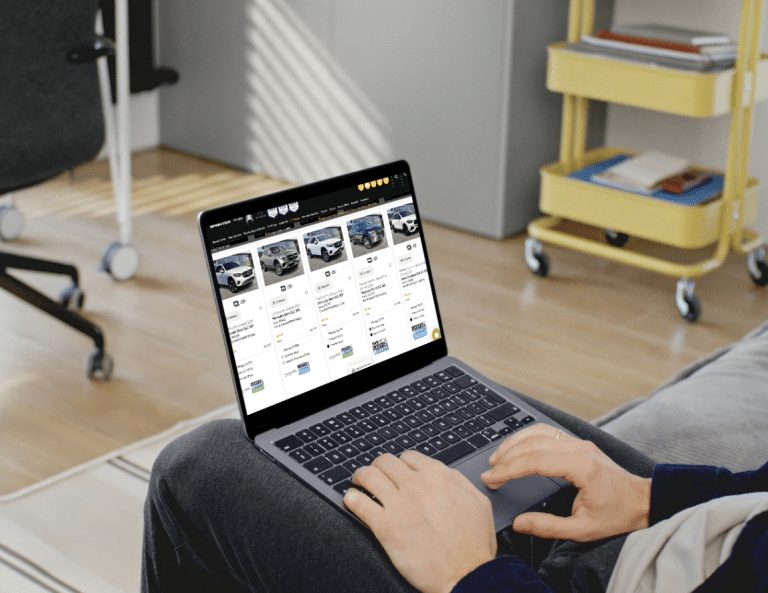
Dealership photos can make or break a vehicle listing. Since most car buyers start their shopping journey online, inventory photos are often the first thing shoppers notice before price, specs, or dealership reputation. Poor lighting, cluttered backgrounds, or inconsistent angles can cause buyers to scroll past your listings without clicking.
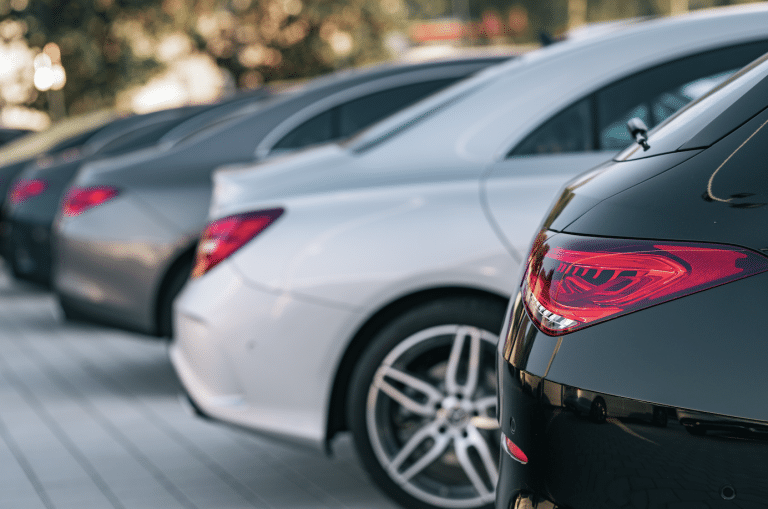
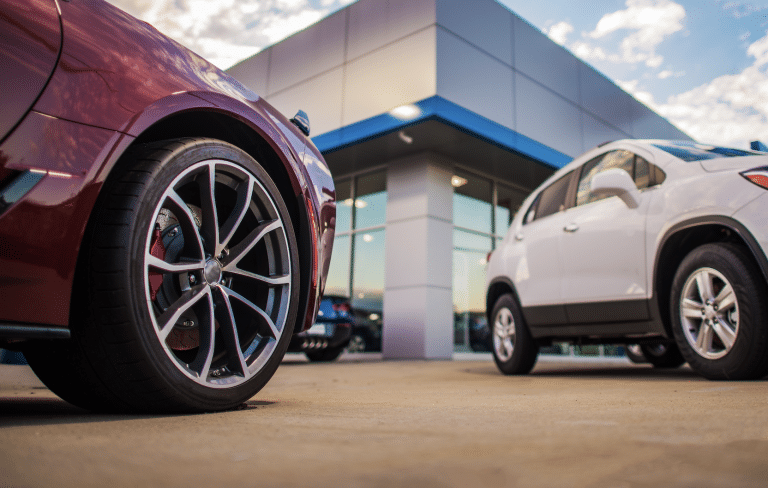
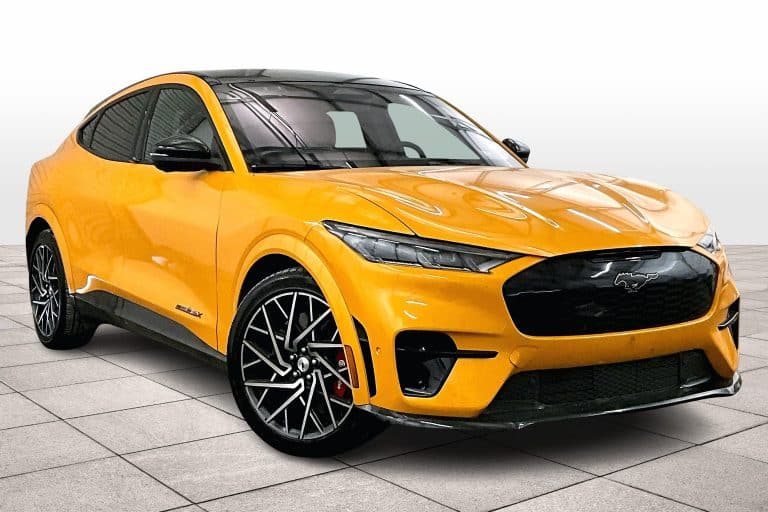
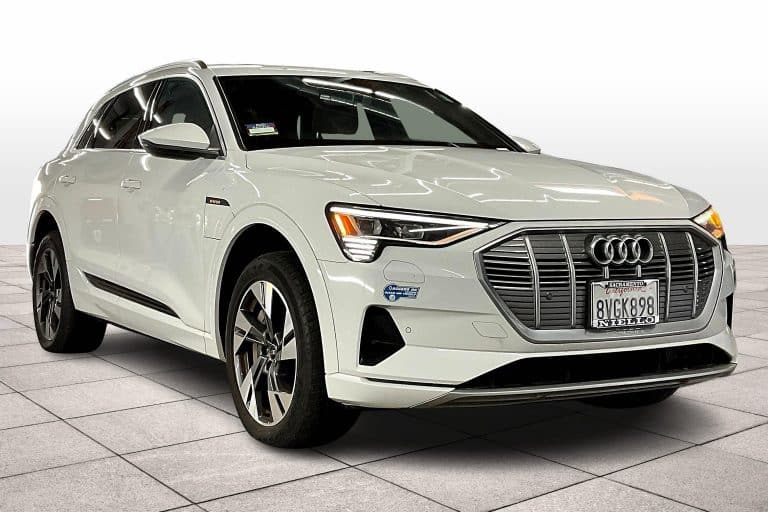
Messy Backgrounds or “Dirty Lot” Shots
One of the most common inventory photo mistakes is photographing vehicles with clutter, trash, or distractions in the background. Even if the vehicle is clean, a messy lot can make the entire listing look unprofessional.
How to fix it:
- Use a designated, clean photo area on your lot
- Remove distracting objects before shooting
- Frame photos so the vehicle is the clear focal point
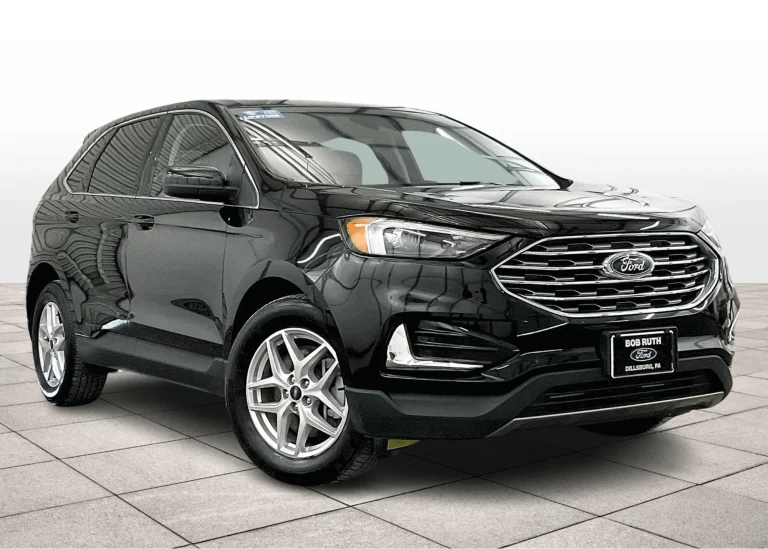
Clean, consistent backgrounds help shoppers focus on the vehicle and build trust in your dealership.
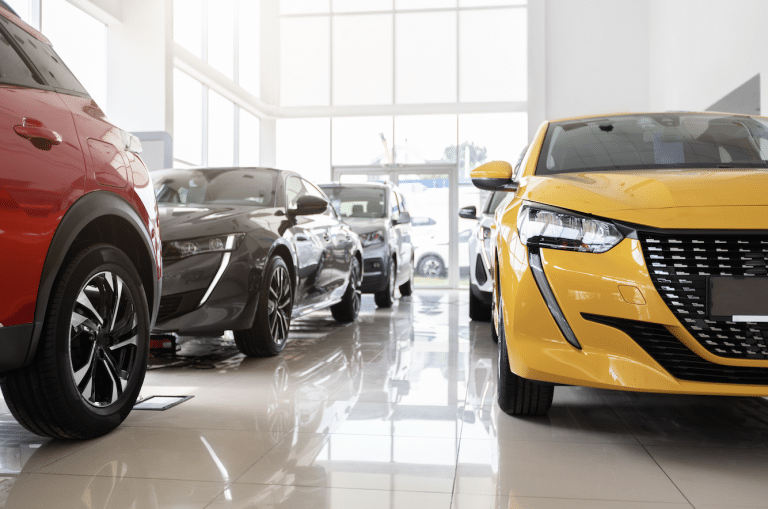
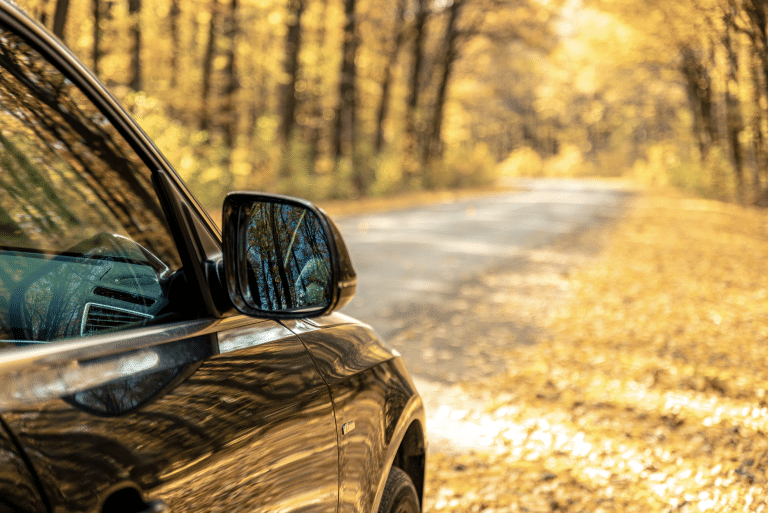
Poor Lighting and Harsh Shadows
Lighting plays a major role in how vehicles appear online. Shooting in uneven lighting or mixed light conditions can create glare, dark shadows, and inaccurate colors.
How to fix it:
- Photograph vehicles in natural sunlight when possible
- Avoid shooting under tree shadows or uneven lighting
- Position the vehicle toward the sun for even illumination
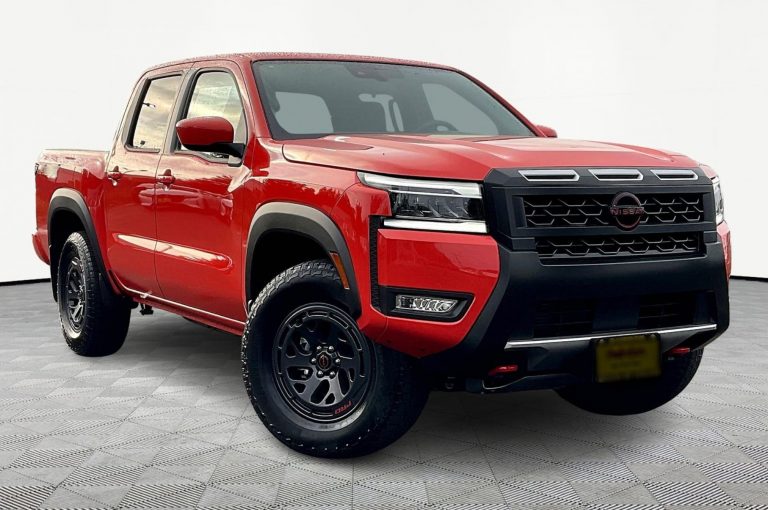
Proper lighting highlights vehicle details and creates more professional-looking listings.
Reflections or People in the Photo
Reflections of photographers, salespeople, or nearby vehicles can easily appear in mirrors or glossy paint surfaces. These distractions make photos look rushed and unprofessional.
How to fix it:
- Check mirrors and reflective surfaces before shooting
- Adjust your position to avoid reflections
- Ask people nearby to step out of the frame
Taking a moment to review the shot helps keep your photos clean and distraction-free.
Crooked or Off-Angle Photos
Even a slight tilt can make a dealership listing look inconsistent. Crooked photos across multiple vehicles create a sloppy visual experience and reduce buyer confidence.
How to fix it:
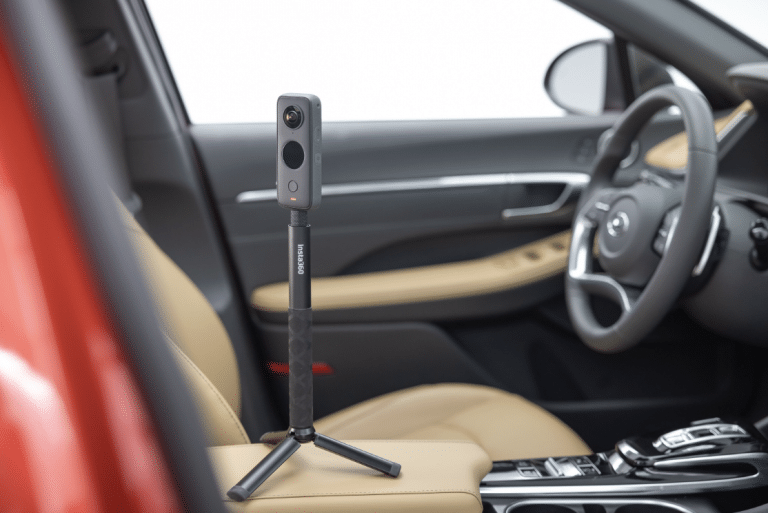
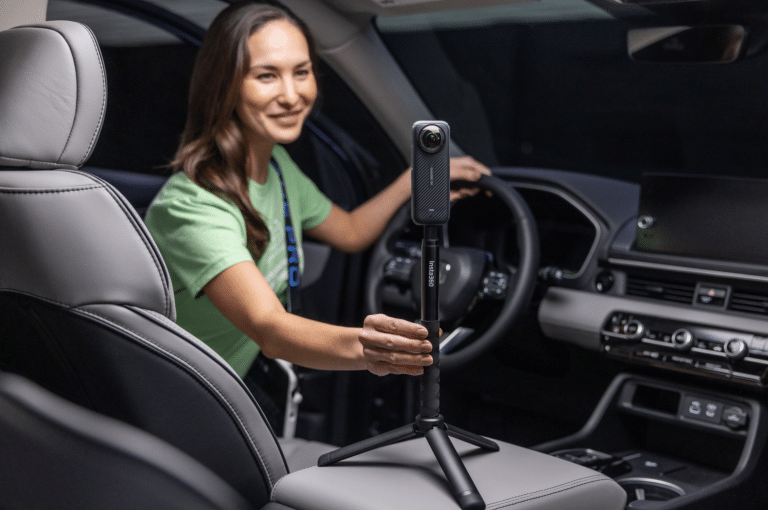
- Use a tripod or alignment guide when shooting
- Review photos before moving to the next angle
- Straighten images during editing if needed
Consistent angles across inventory help your listings look more professional.
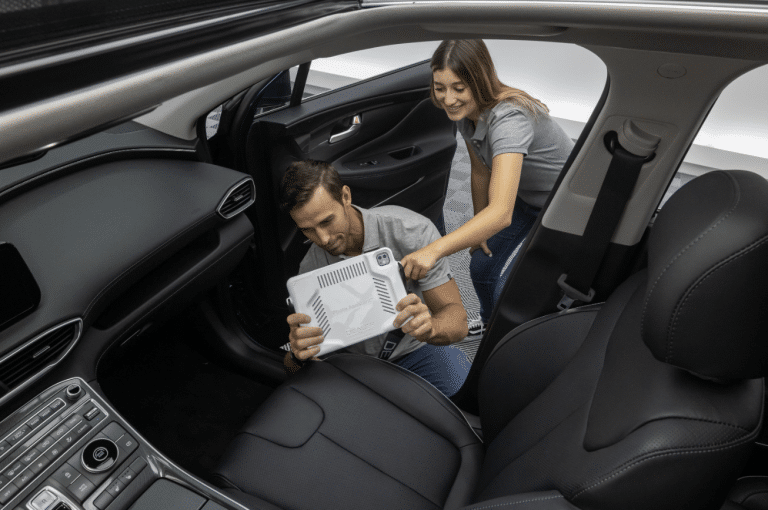
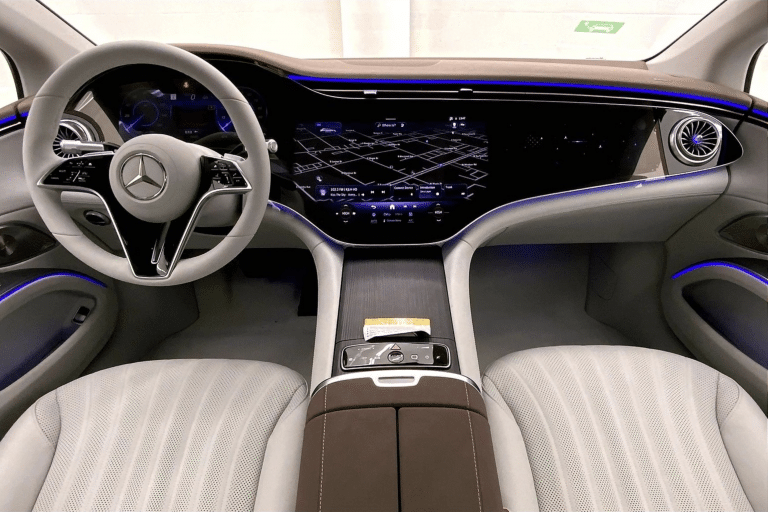
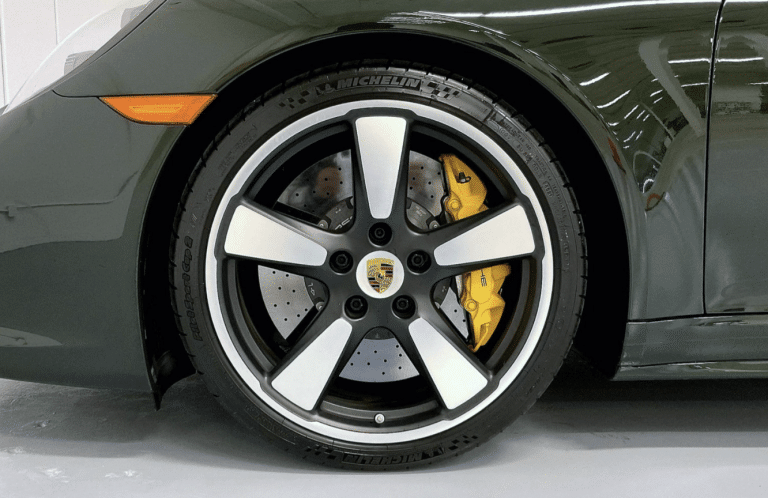
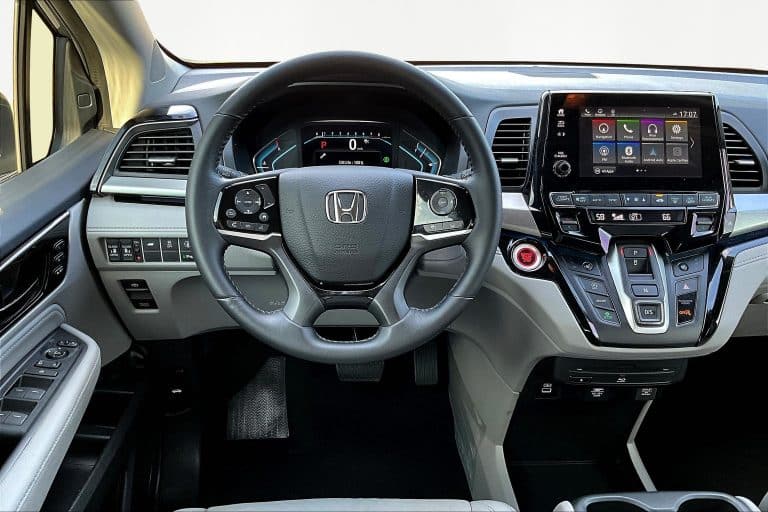
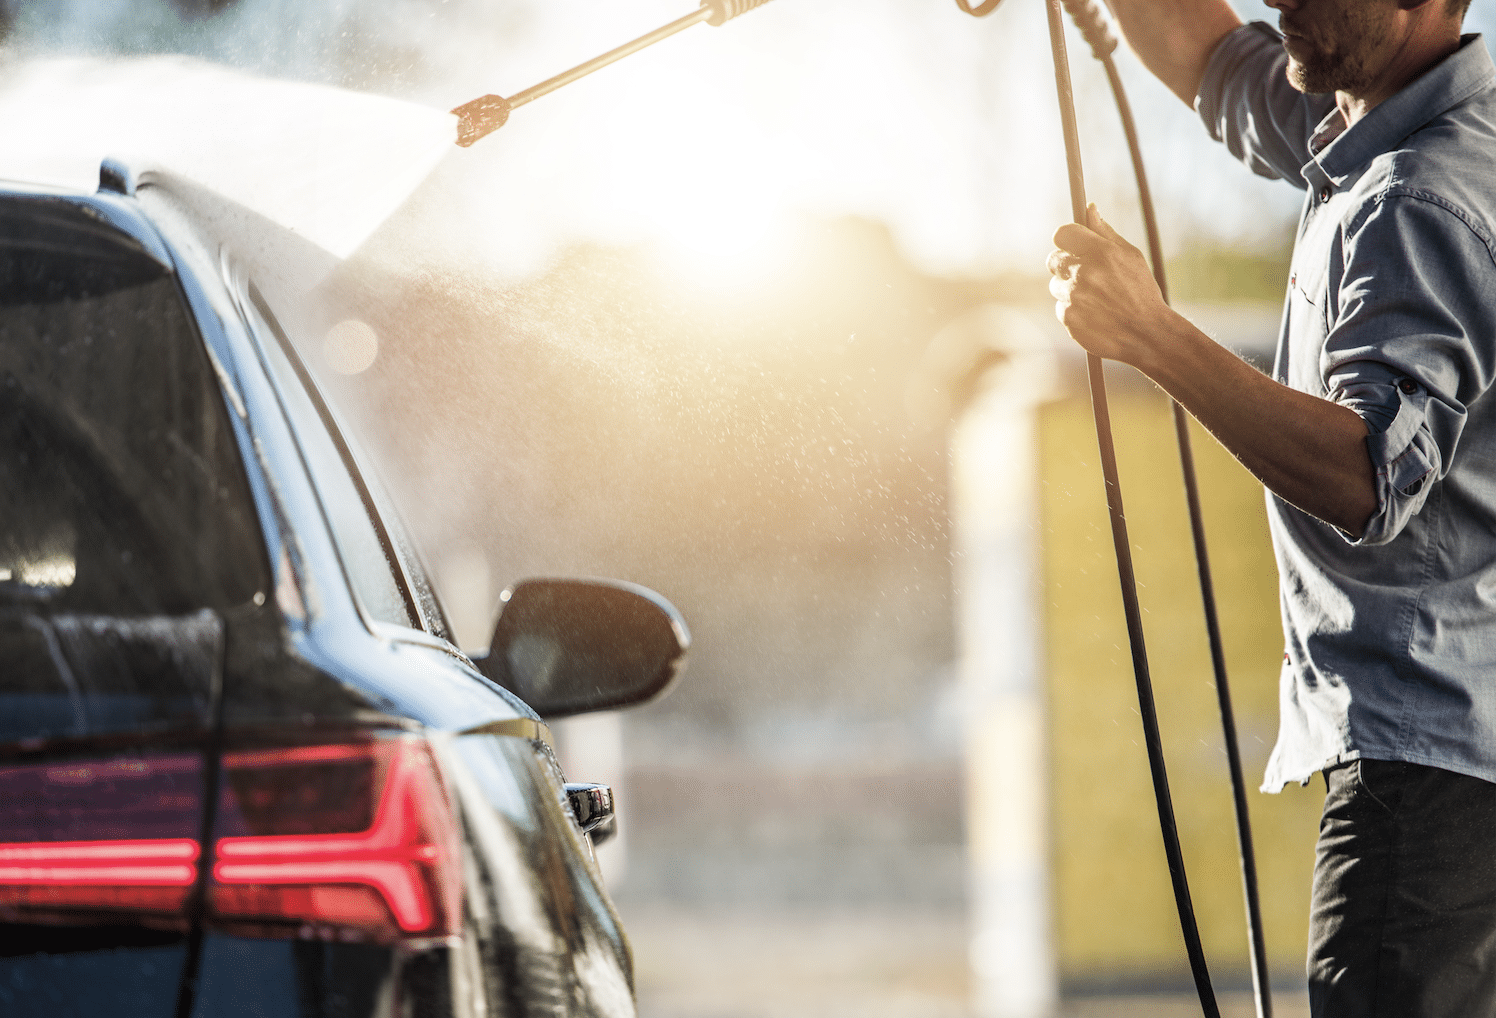
Skipping Vehicle Prep Before Photos
Photographing vehicles before they are fully cleaned or prepared can hurt their perceived value. Dirt, window stickers, and clutter inside the vehicle can distract buyers from the vehicle itself.
How to fix it:
- Wash and prep vehicles before shooting
- Remove tags, stickers, or interior clutter
- Use a simple prep checklist before every photo session
A properly prepared vehicle always photographs better.
Bringing It All Together
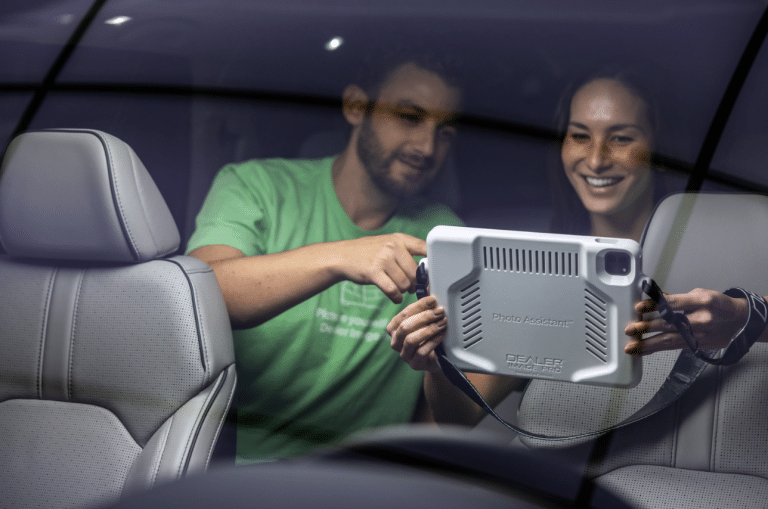
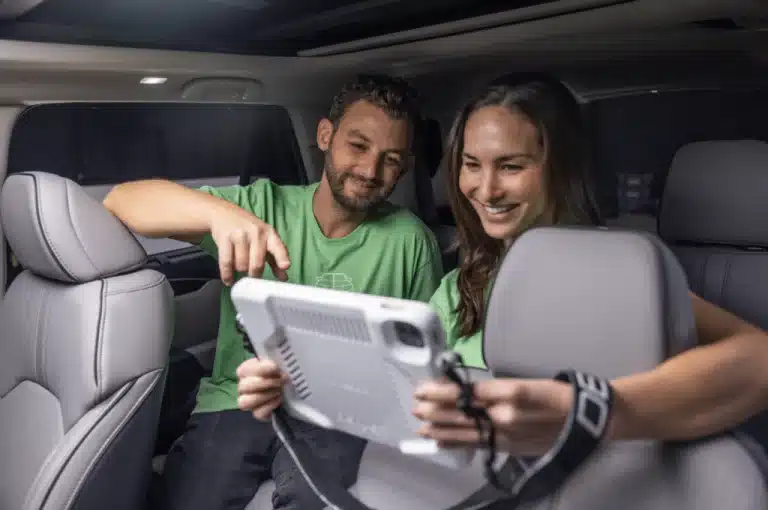
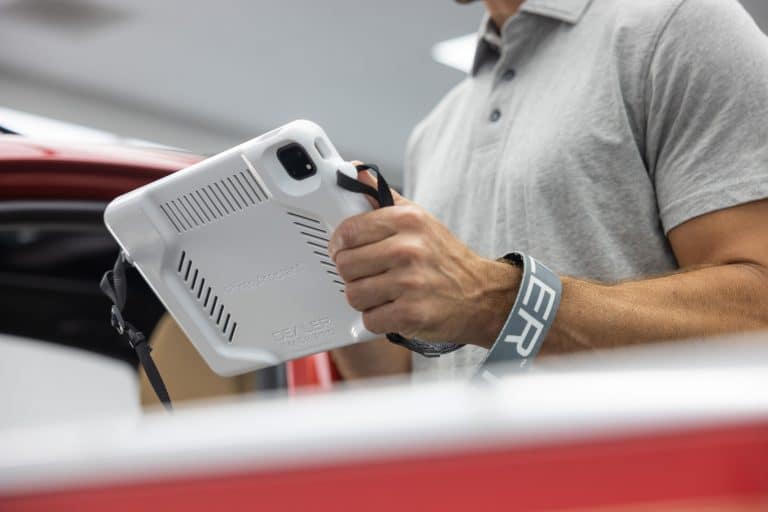
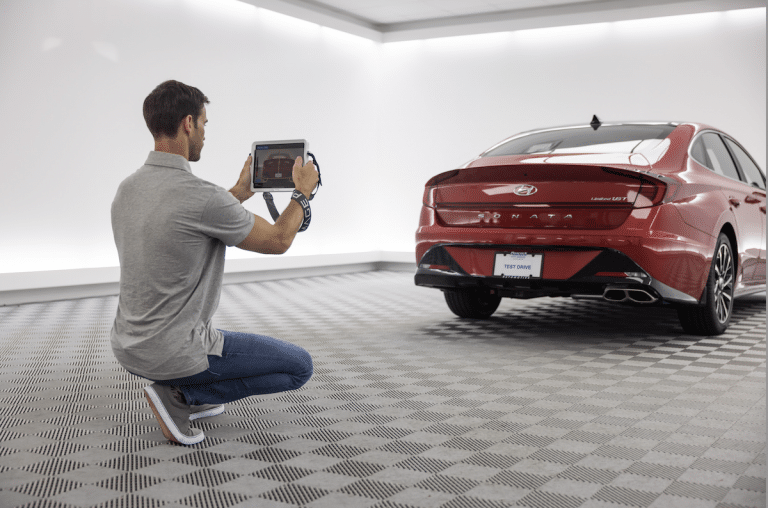
Great dealership photos are not just about having a camera, they require a consistent process, clear standards, and the right tools. Dealer Image Pro helps dealerships avoid common photography mistakes by providing:
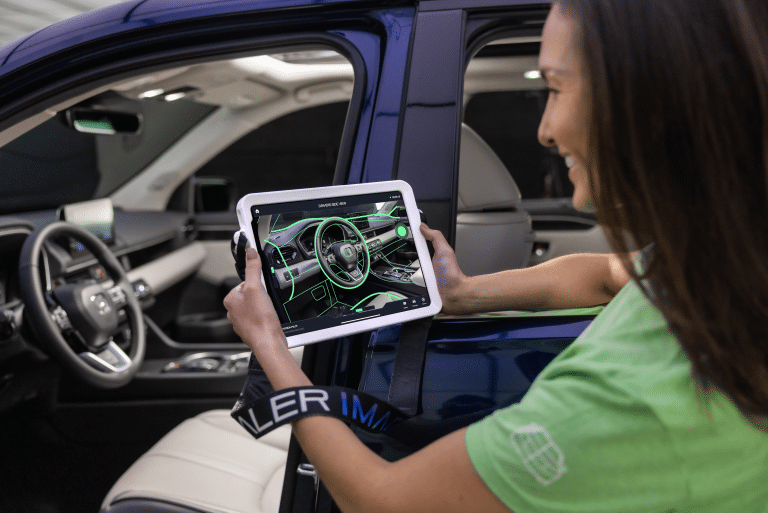
- Guided wireframes that ensure consistent angles
- Lifetime training so teams learn proper lighting, framing, and process
- Editing and quality control that straighten, crop, and polish every photo
By combining training, technology, and quality control, Dealer Image Pro helps dealerships create consistent, professional inventory photos that build buyer trust and improve online engagement.
FAQs
What are the most common dealership photo mistakes?
Common mistakes include messy backgrounds, poor lighting, reflections in the vehicle, crooked angles, and photographing vehicles before they are properly prepared.
Why do dealership photos matter for online listings?
Most buyers start their vehicle search online, and photos often determine whether a shopper clicks on a listing or keeps scrolling.
How can dealerships improve their inventory photos?
Dealerships can improve photos by using consistent angles, clean backgrounds, proper lighting, and a repeatable photography process.
How does Dealer Image Pro help dealerships take better photos?
Dealer Image Pro provides photography training, guided wireframes, and editing support to help dealerships capture consistent, professional vehicle photos.