On this page:



Summer can be one of the most challenging seasons for dealership photography. Bright sunlight, glare, deep shadows, and heat haze can make even clean, well-prepared vehicles look inconsistent online. That matters because inventory photos are often a shopper’s first impression. Before they compare prices or read vehicle details, they’re evaluating condition, quality, and trust through your photos. Strong, consistent images help shoppers move forward with confidence, while poor lighting can make vehicles appear less appealing than they are.
The good news is that harsh summer light doesn’t have to slow your merchandising process. With the right capture strategy and a repeatable workflow, dealerships can create professional inventory photos in virtually any conditions. At Dealer Image Pro, that strategy starts with one simple principle: Shoot for the Sun.
Why Summer Light Creates Challenges
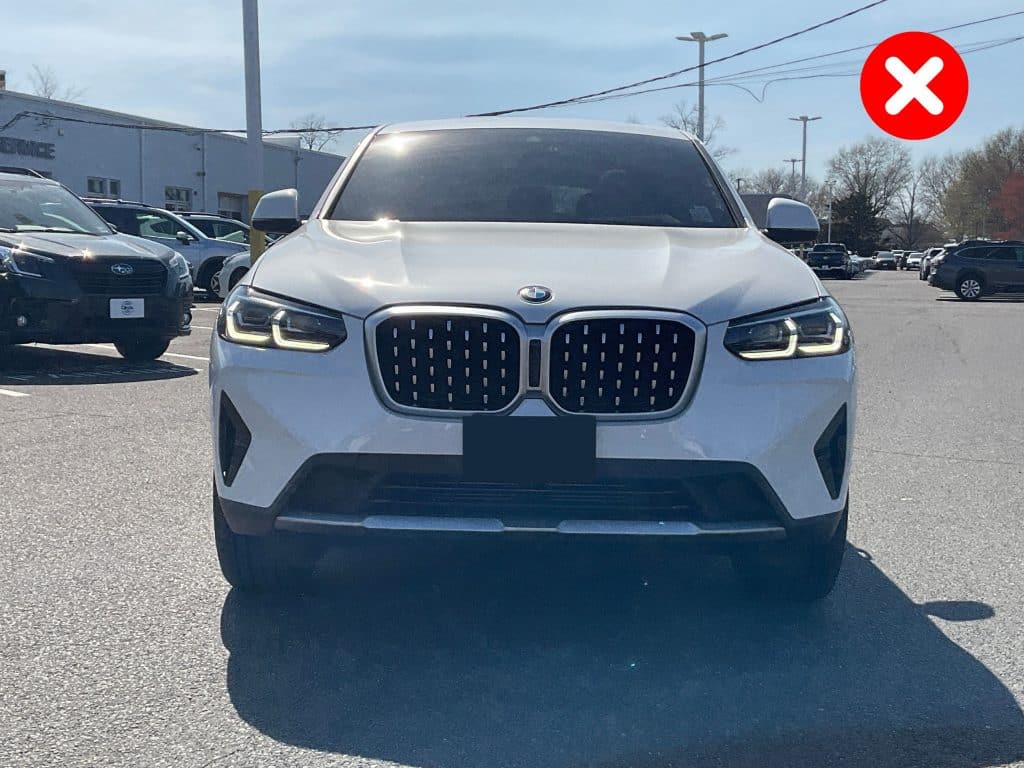
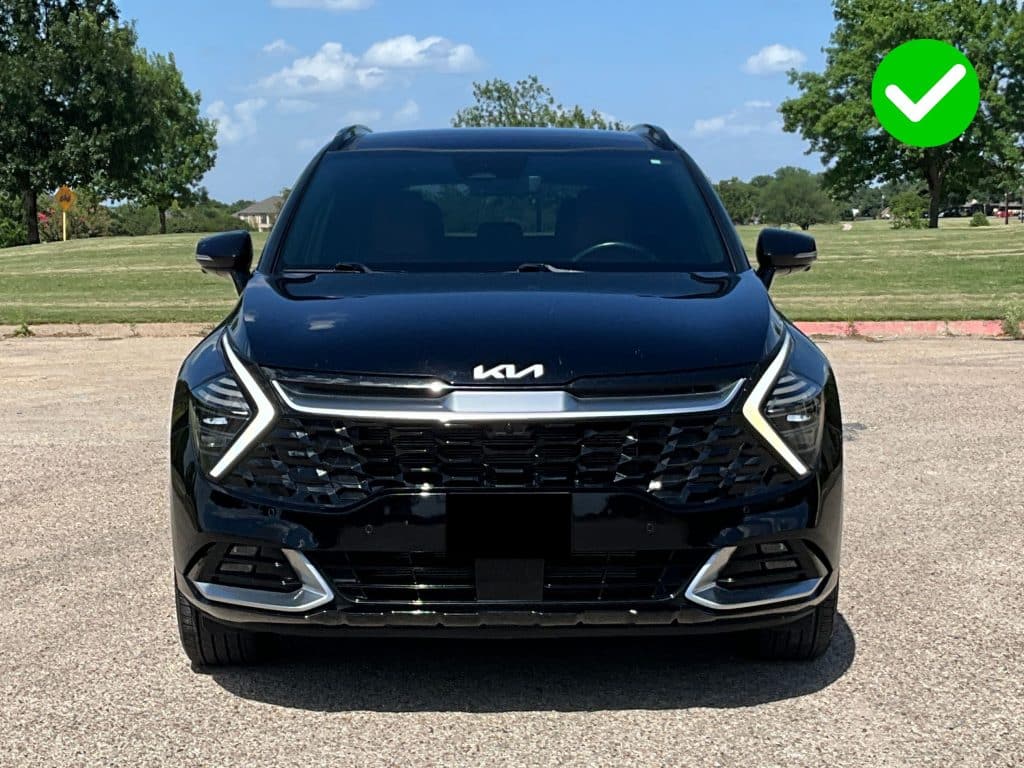
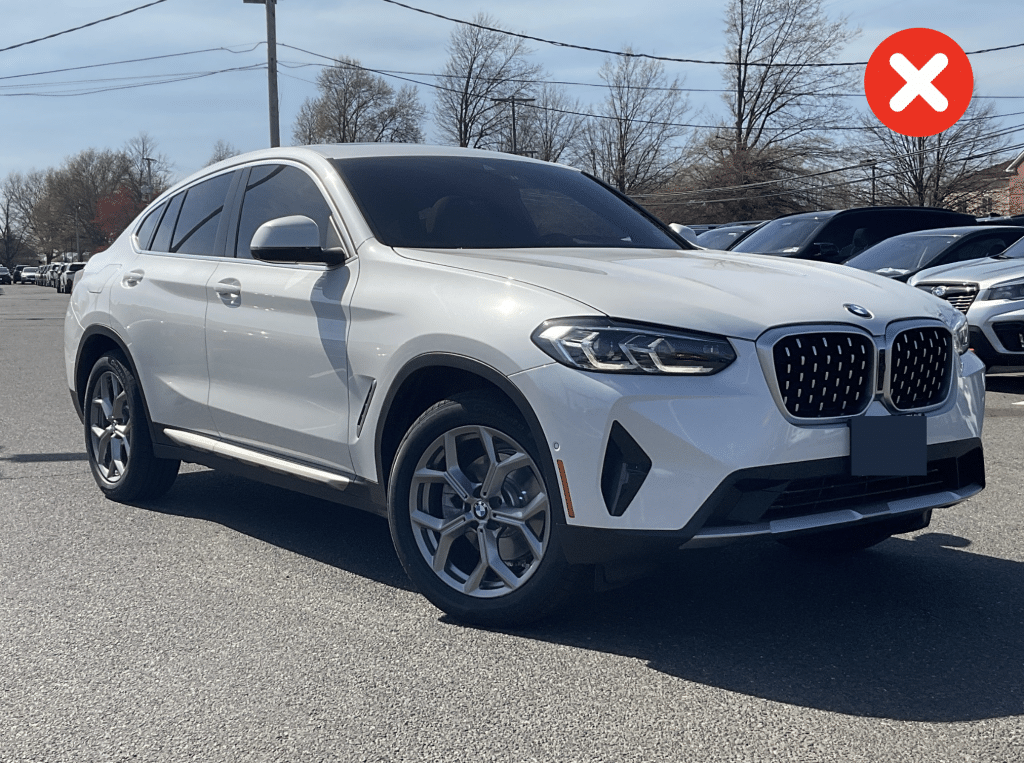
Vehicles are designed to reflect light. That’s great in a showroom, but it creates challenges on an outdoor lot during the summer. Bright overhead sun produces harsh contrast that cameras struggle to balance. Paint can lose detail, reflections become distracting, and interiors often appear much darker than they do in person.
Common summer photography issues include:
- White vehicles losing body definition from overexposure
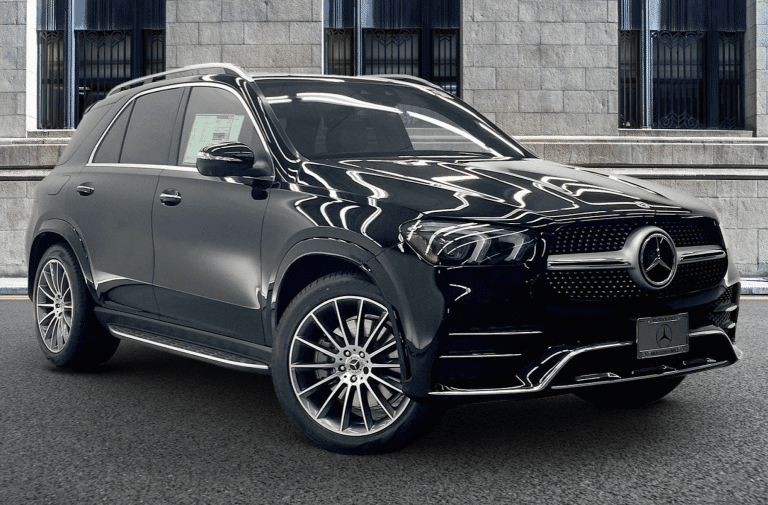
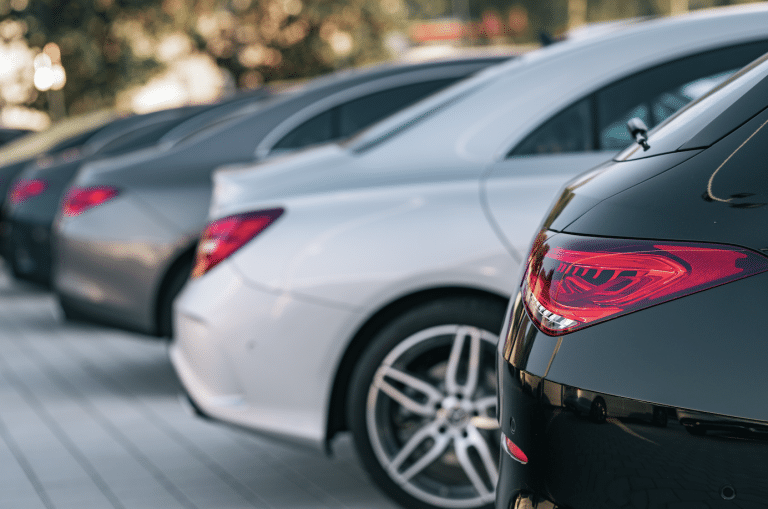
- Black vehicles showing excessive reflections
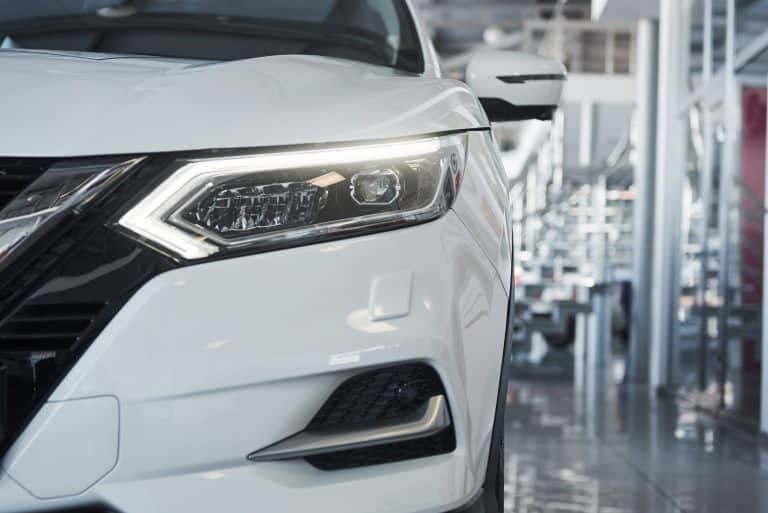
- Glare across glass, chrome, and glossy trim
- Windshields reflecting the sky or surrounding inventory
- Dark interior photos with limited visible detail
- Inconsistent lighting from one vehicle to the next
Many dealerships assume the solution is to wait for cloudy days or photograph only in shade. While those conditions can help, they’re not practical for most dealerships trying to move inventory quickly.
Instead of avoiding the sun, learn how to work with it.
The Dealer Image Pro Method: Shoot for the Sun
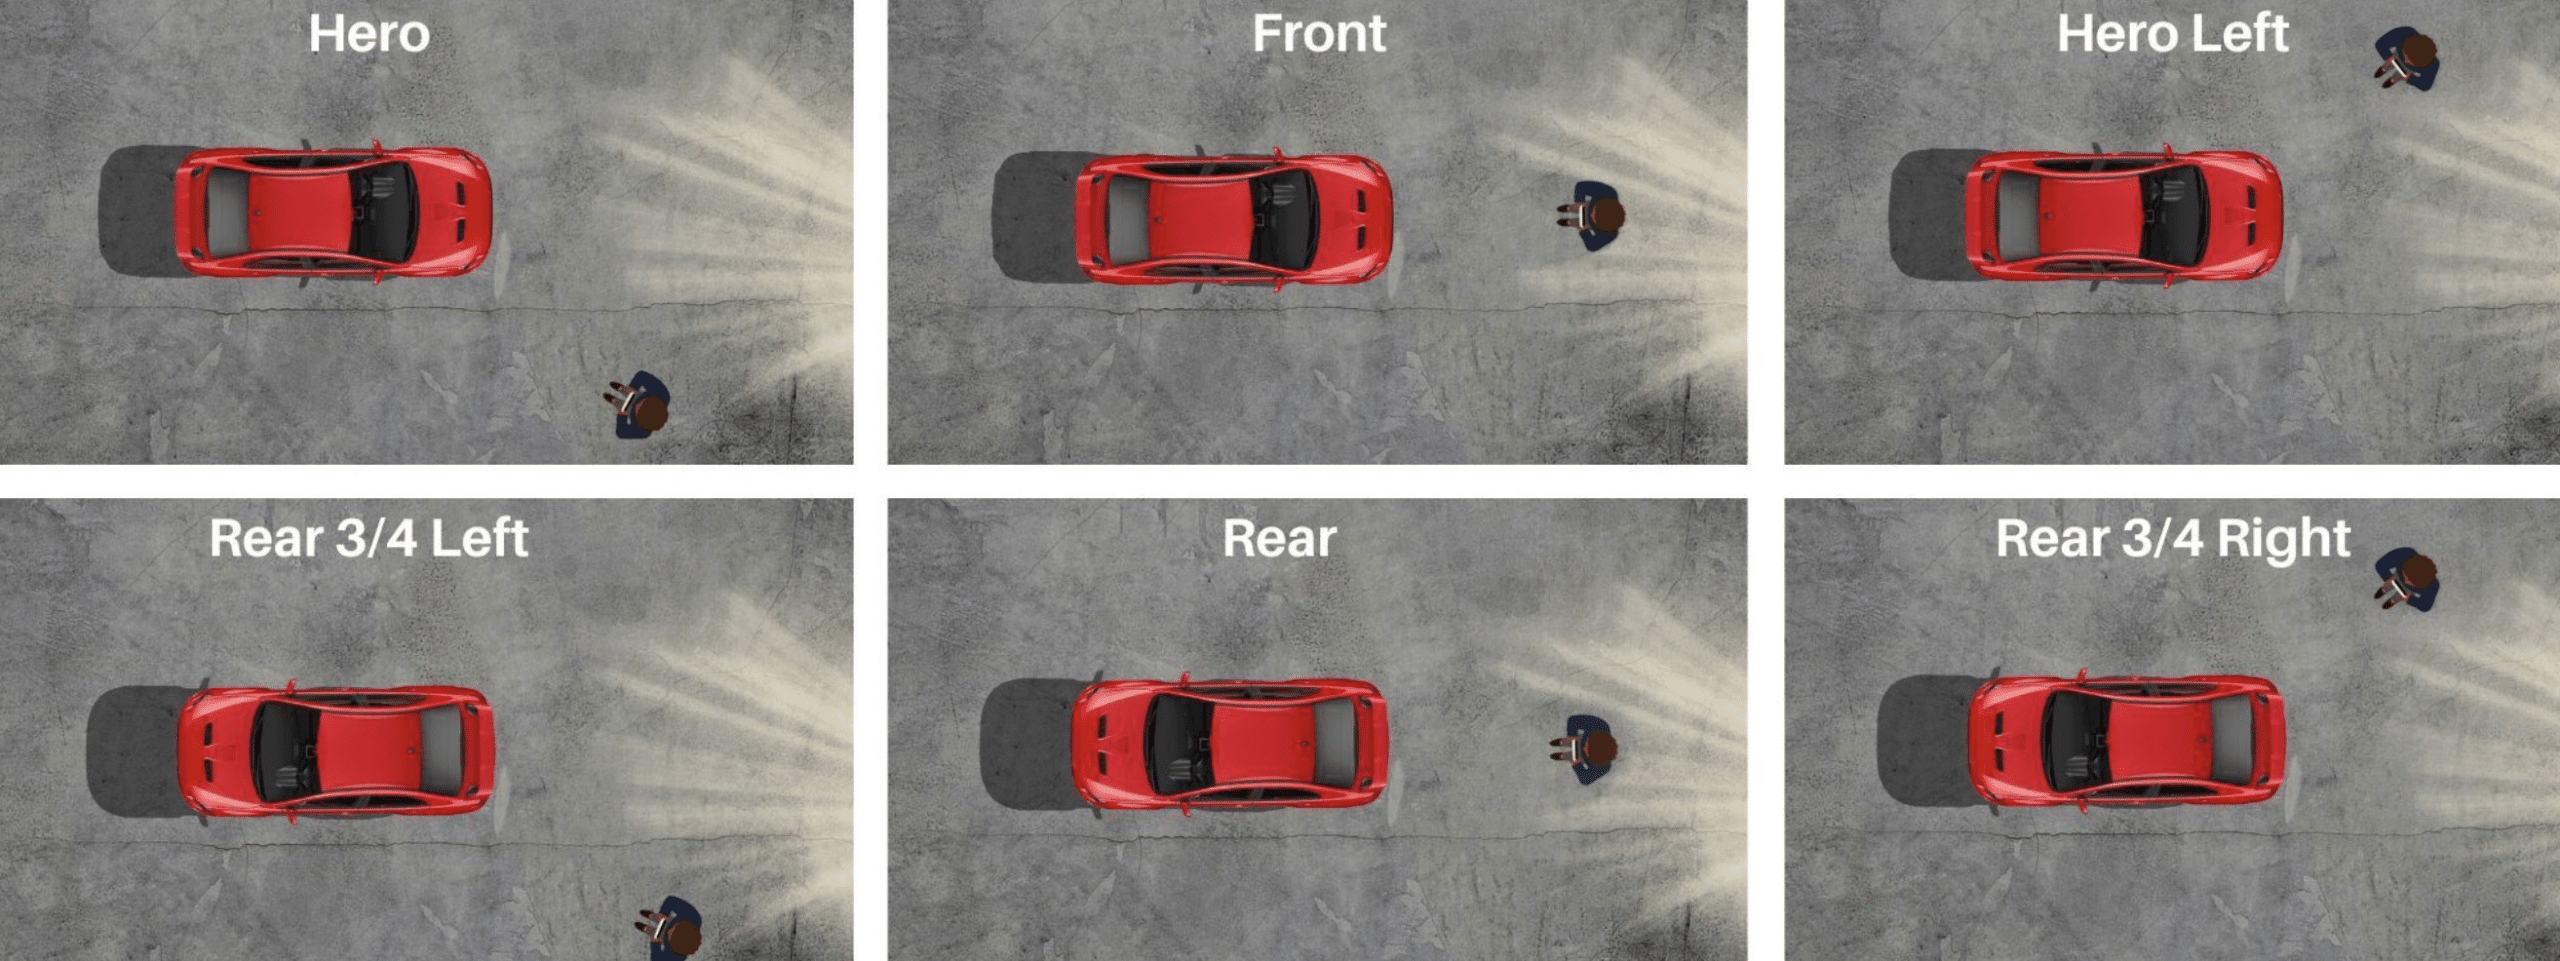
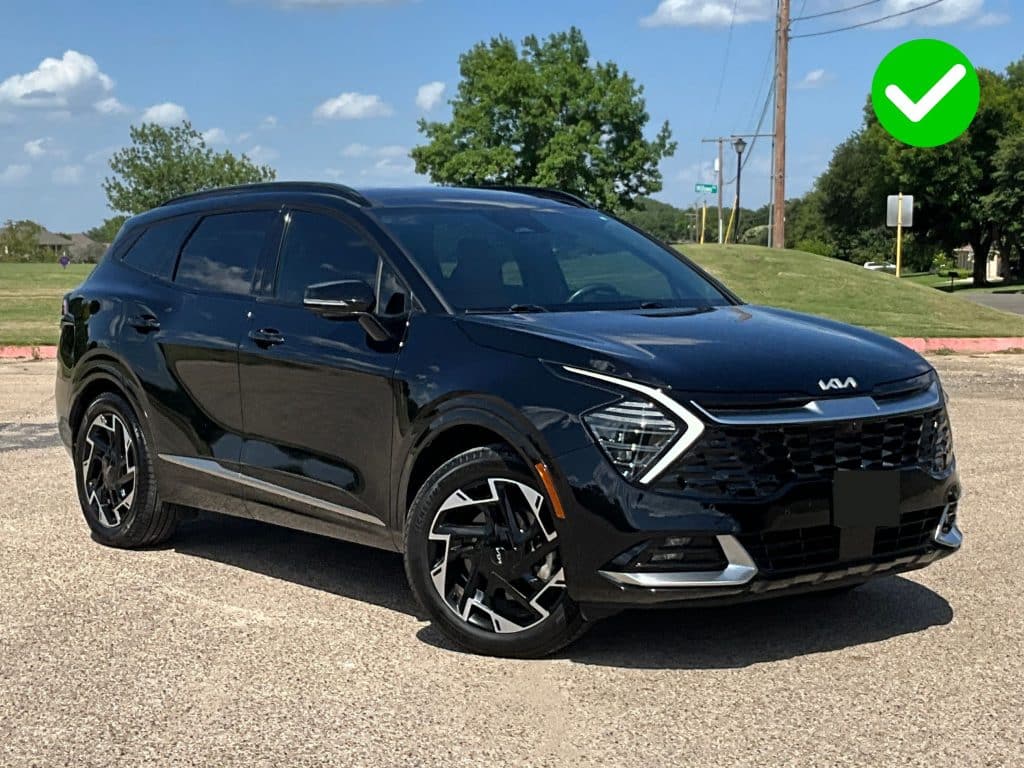
One of the most common mistakes photographers make is trying to keep the vehicle out of direct sunlight. At Dealer Image Pro, we take a different approach. Rather than fighting the sun, we position the vehicle so the sunlight always falls on the area being photographed. We call this shooting for the sun, and it’s one of the simplest ways to create cleaner, more consistent inventory photos throughout the day. Instead of allowing shadows to fall across the side of the vehicle, we intentionally move those shadows to the opposite end of the car. The result is a complete photo set with balanced lighting, cleaner body lines, and fewer distracting shadows.
Step 1: Photograph the Front with the Hood Facing the Sun
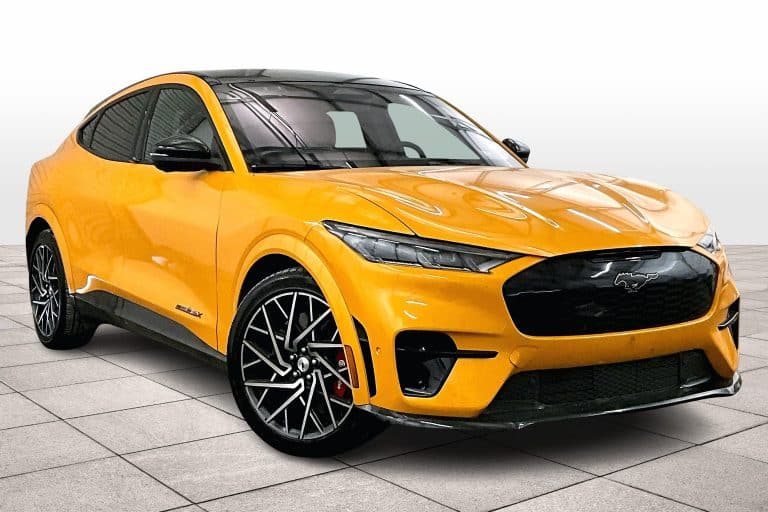
Begin by positioning the vehicle so the hood points directly toward the sun. his places the strongest light on the front of the vehicle while pushing shadows behind it onto the trunk. Because the shadows stay behind the vehicle, the entire front sequence benefits from even lighting across the grille, bumper, hood, fenders, and side panels.
From this position, capture:
- Front
- Front driver-side three-quarter
- Front passenger-side three-quarter
- Driver-side profile
- Passenger-side profile
- Front wheel details
Keeping the light on the front of the vehicle creates a consistent look throughout the first half of the photo sequence.
Step 2: Rotate the Vehicle for the Rear Sequence
Once the front photos are complete, turn the vehicle around so the rear now faces the sun. Now the shadows fall onto the hood instead of the trunk. That gives you the same lighting advantage for the rear of the vehicle.
Capture:
- Rear
- Rear driver-side three-quarter
- Rear passenger-side three-quarter
- Rear feature photos
- Cargo area if applicable
Because each end of the vehicle is photographed with the sun directly in front of it, every exterior image has a similar look and feel. Instead of chasing perfect lighting, you’re creating predictable lighting.
Step 3: Leave the Vehicle in Position for Interior Photos
After finishing the rear exterior photos, leave the vehicle where it is. With the rear facing the sun, natural light enters through the back of the cabin, creating more even illumination throughout the interior. This helps reduce harsh contrast between the windshield and dashboard while making seats, displays, controls, and trim easier to photograph.
Why Shoot for the Sun Works
The goal isn’t eliminating shadows. It’s controlling where they appear.
By keeping shadows on the opposite end of the vehicle from the area being photographed, dealerships can:
- Produce more even lighting across every image.
- Show paint color more accurately.
- Reveal body lines and vehicle contours.
- Reduce glare on glass and chrome.
- Minimize reshoots caused by poor lighting.
- Create a more professional inventory presentation.
Most importantly, it’s easy to teach. Once photographers understand the concept, it becomes part of a repeatable process that works across different vehicle types, paint colors, and lot layouts.
Prepare Every Vehicle Before the Camera Comes Out
Bright sunlight reveals every imperfection. Dust, fingerprints, pollen, water spots, streaks, and smudges that seem insignificant on the lot become highly visible in inventory photos. A vehicle doesn’t need a complete detail before every shoot, but it should be photo-ready.
A quick preparation routine should include:
- Clean glass inside and out.
- Remove dashboard dust.
- Wipe fingerprints from paint and trim.
- Remove water spots.
- Straighten floor mats.
- Center the steering wheel.
- Position seats and infotainment screens consistently.
- Remove loose personal items or paperwork.
Spending a few extra minutes preparing the vehicle often saves far more time than scheduling reshoots later.
Photograph Challenging Paint Colors
Every paint color responds differently to bright summer light, and a few require extra attention.
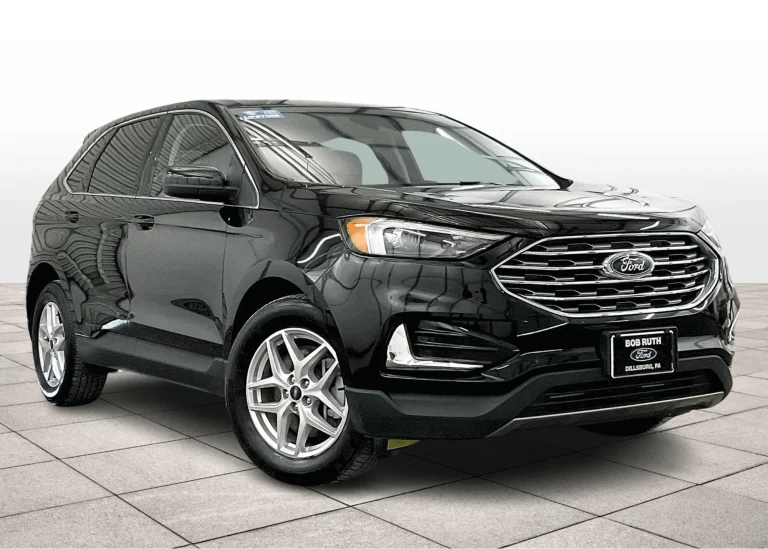
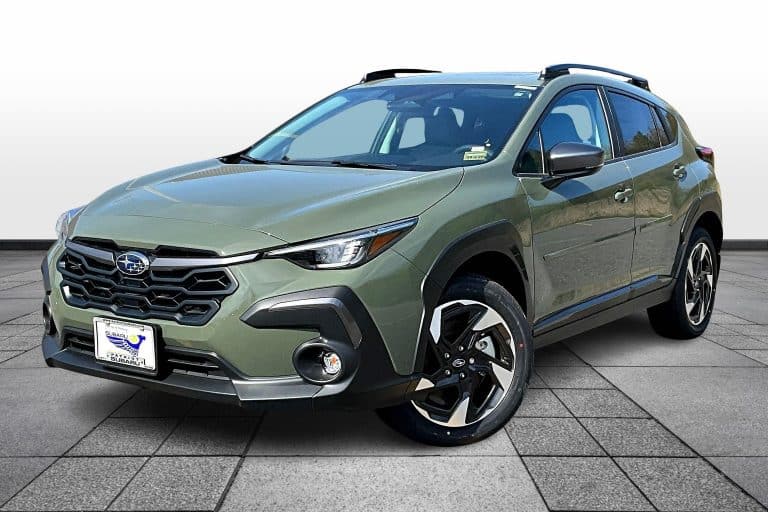
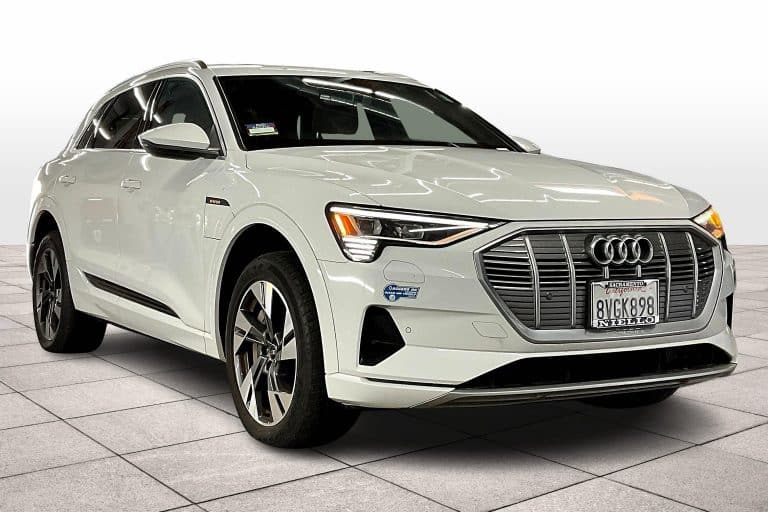
White vehicles can lose body definition when highlights become overexposed. Black paint tends to reflect everything around it, while metallic finishes can produce bright hotspots that distract from the vehicle itself.
The Shoot for the Sun method helps minimize many of these issues by keeping light consistent across the panels you’re photographing, but photographers should still take a moment to review the first few images before completing the full sequence.
A few simple habits make a noticeable difference:
- Avoid overexposing white paint.
- Watch for reflections on black vehicles.
- Check metallic finishes for blown highlights.
- Review the first few images before moving through the sequence.
- Reshoot immediately if paint color or body lines don’t appear accurate.
The goal isn’t just take photos, it’s presenting every vehicle as accurately as possible so shoppers know exactly what to expect.
Capture Better Interior Photos
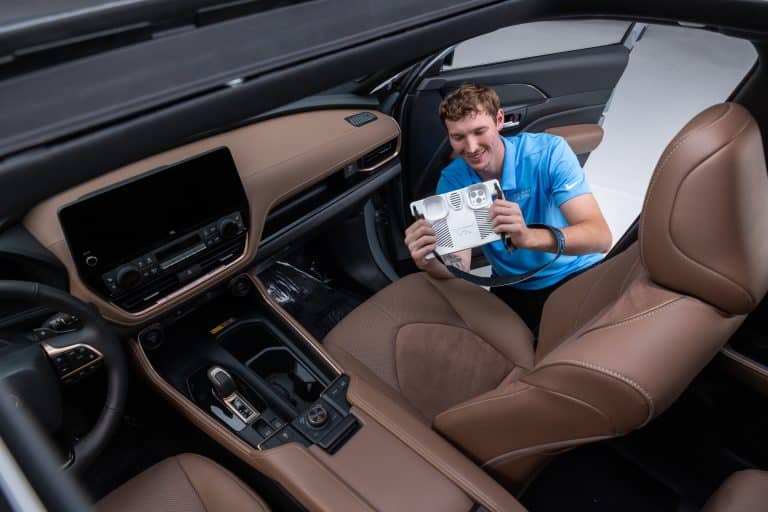
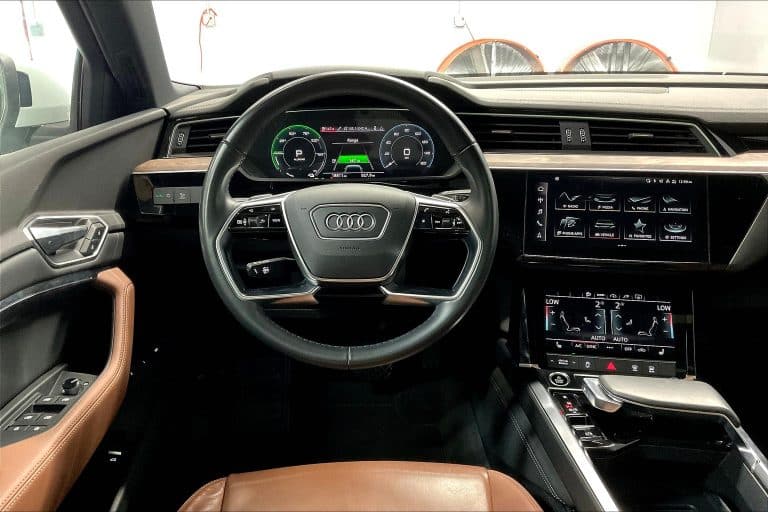
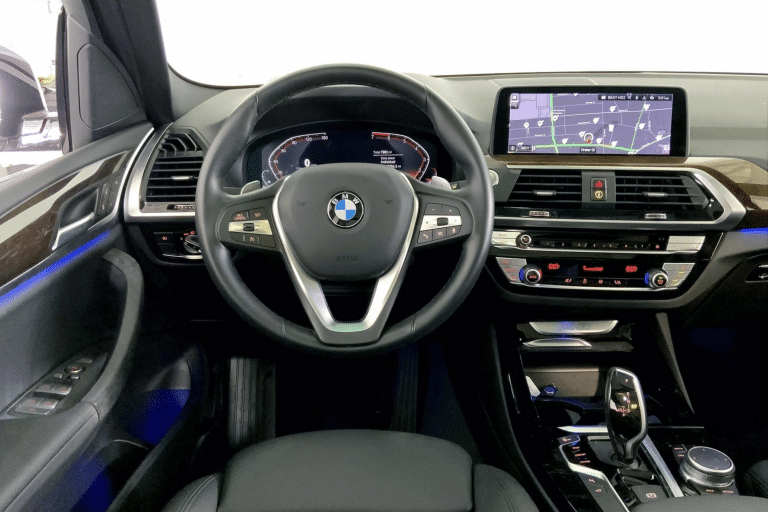
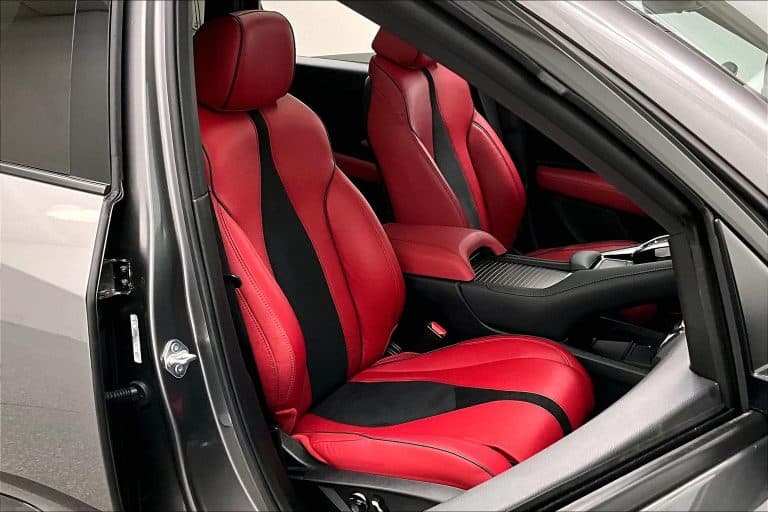
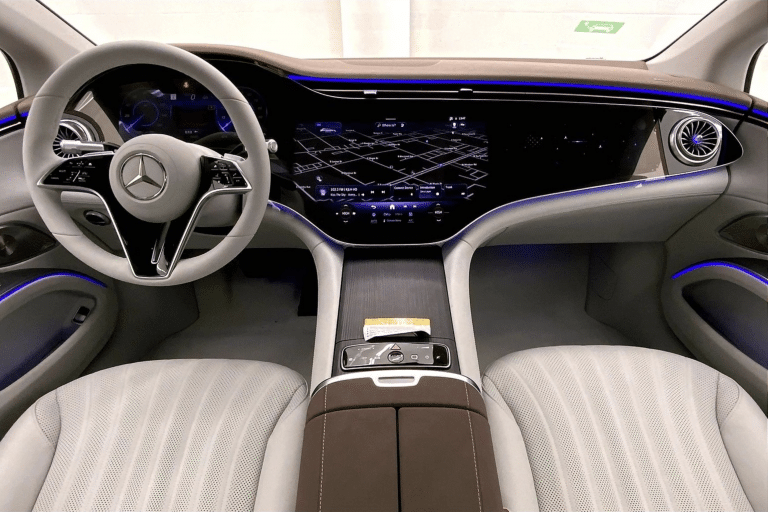
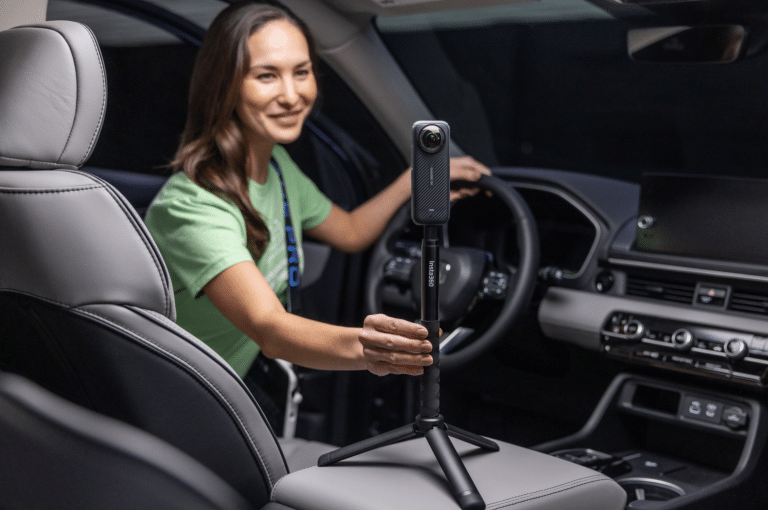
Interior photos are often overlooked, yet they’re some of the most valuable images in a vehicle listing. Buyers use them to evaluate condition, technology, seating, cargo space, and overall care before deciding to visit the dealership. One advantage of the Shoot for the Sun workflow is that the vehicle is already positioned for interior photography.
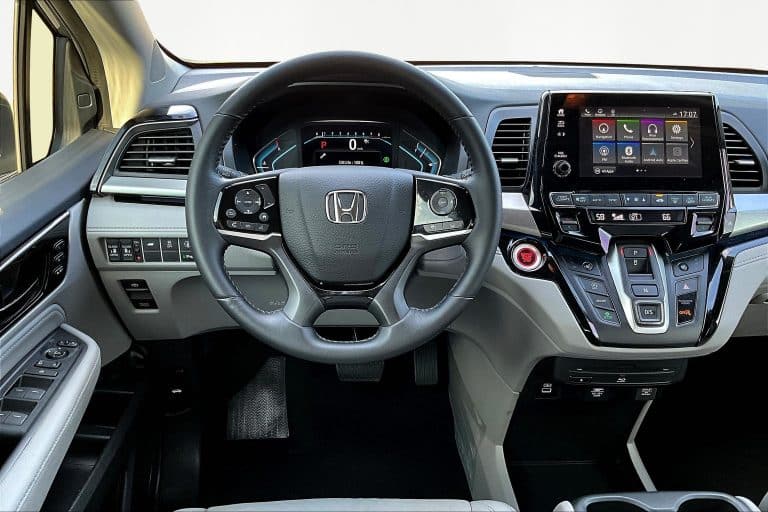
After completing the rear exterior sequence, leave the vehicle with the rear facing the sun. Natural light enters through the back of the cabin, creating more even illumination across the seats, dashboard, and center console while reducing the harsh contrast that occurs when sunlight pours through the windshield.
To keep every interior photo consistent:
- Position the steering wheel straight.
- Align the front seats evenly.
- Clean fingerprints from screens and glossy trim.
- Remove loose items from cupholders, storage areas, and floorboards.
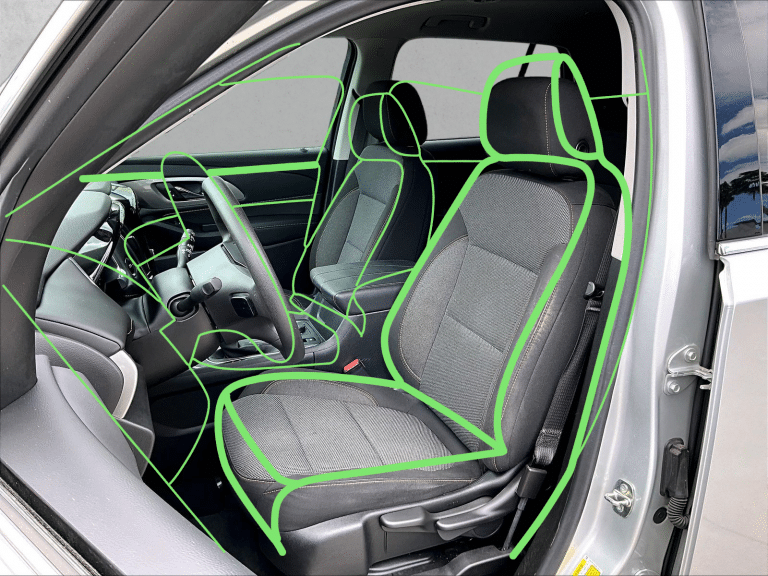
- Photograph the driver area, front passenger area, rear seating, cargo area, and key technology features.
When every listing follows the same interior sequence, shoppers can quickly compare vehicles and better understand each vehicle’s condition and features.
Build a Repeatable Capture Process
Lighting changes throughout the day. Your workflow shouldn’t. A standardized capture process helps every photographer produce the same high-quality results regardless of experience.
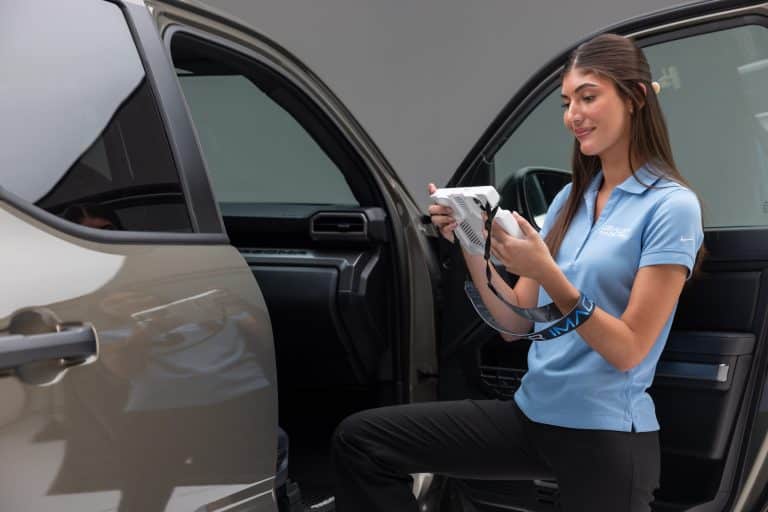
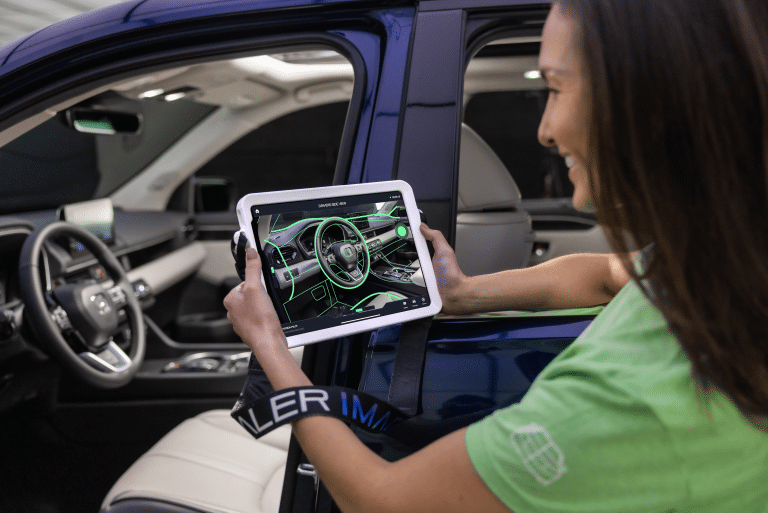
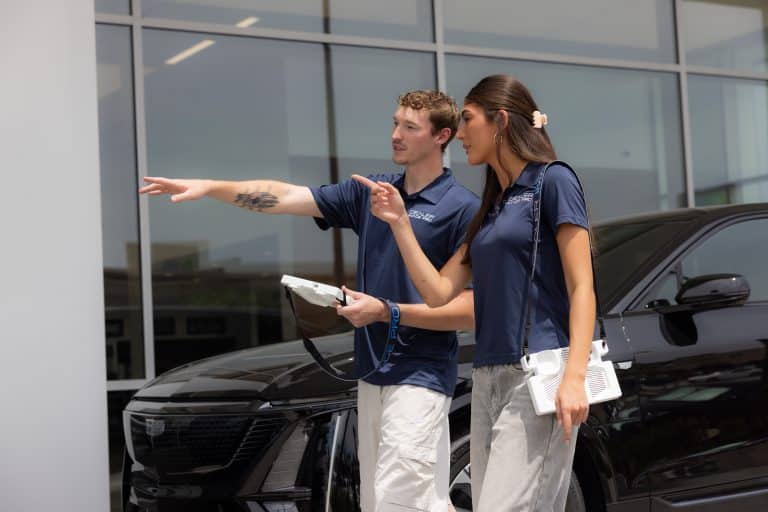
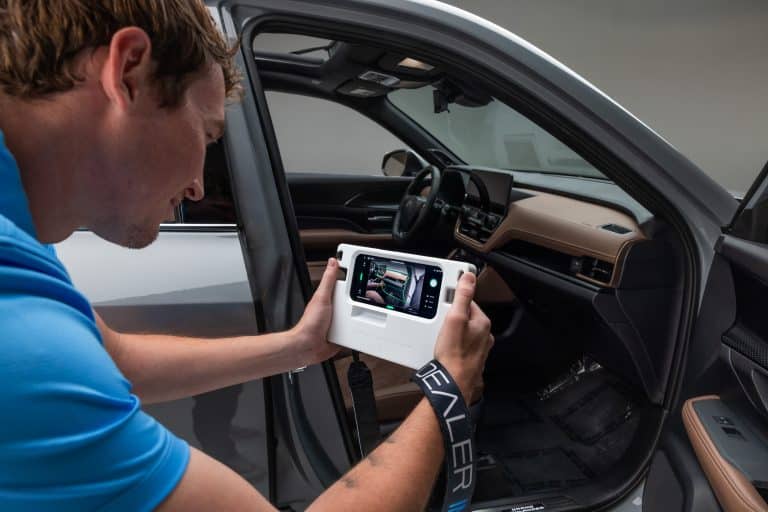
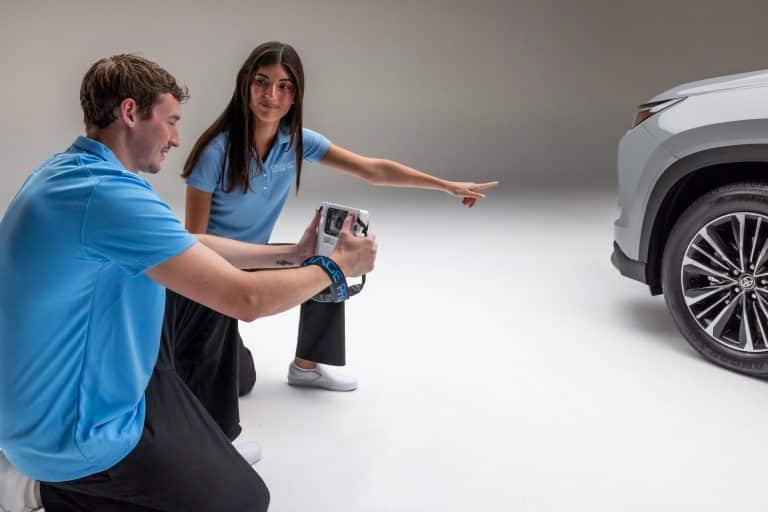
Dealer Image Pro’s Photo Assistant™ guides photographers through every required shot using on-screen wireframes. Each image is captured in the same order, helping dealerships create complete vehicle listings without missing important details. Once the photo session is complete, images move into Autoport® for enhancement, quality control, organization, and publication by our team.
A complete vehicle photo sequence should include:
- Front and rear hero images
- Three-quarter views
- Side profiles
- Wheels and tires
- Driver and passenger areas
- Dashboard and controls
- Odometer
- Cargo area
- Key features and accessories
- Condition details
A repeatable process doesn’t just improve photo quality—it speeds up merchandising and creates a consistent experience across every listing.
Better Photography Leads to Faster Speed-to-Market
Photography is one step in a much larger merchandising process. When photo capture is inconsistent, delays quickly spread throughout the workflow. Teams spend additional time organizing files, scheduling reshoots, editing images, and completing incomplete listings. A repeatable capture process helps eliminate those delays. Dealer Image Pro combines guided vehicle photography, automated media management, and built-in quality control to help dealerships move vehicles from arrival to publication more efficiently.
The result isn’t simply better photos. It’s a faster merchandising process, improved inventory visibility, and more vehicles online sooner. For dealerships, every day matters. Publishing inventory even a few days earlier gives shoppers more opportunities to discover vehicles while reducing holding costs. Book a demo to learn more.
FAQs
What is the best way to photograph cars in direct sunlight?
The best approach is to work with the sun instead of avoiding it. Dealer Image Pro’s Shoot for the Sun method positions the vehicle so the area being photographed faces the sun, keeping shadows on the opposite end of the vehicle. This creates more even lighting, reduces harsh shadows, and produces a cleaner, more consistent set of inventory photos.
Why do vehicle photos look different throughout the day?
As the sun moves, lighting conditions change. Bright midday light creates stronger shadows and reflections, while morning and late afternoon light is softer. Following a consistent capture process, such as Shoot for the Sun, helps maintain a uniform look regardless of the time of day.
How can dealerships reduce glare and reflections in inventory photos?
Glare can be minimized by positioning the vehicle correctly, checking reflections before taking each photo, and keeping the sun on the section of the vehicle being photographed. Small adjustments to the vehicle or camera angle can significantly improve image quality without slowing down the workflow.
Why are consistent inventory photos important?
Consistent photography creates a more professional online showroom and makes it easier for shoppers to compare vehicles. A standardized photo process also reduces reshoots, improves merchandising efficiency, and helps dealerships publish inventory more quickly.
What should dealerships check before photographing a vehicle?
Before taking photos, make sure the vehicle is clean and photo-ready. Wipe down glass and painted surfaces, remove fingerprints and water spots, straighten the steering wheel, position the seats, and remove loose items from the interior. Spending a few minutes preparing the vehicle can save time by reducing the need for reshoots.
How does Dealer Image Pro help dealerships improve vehicle photography?
Dealer Image Pro helps dealerships standardize inventory photography with Photo Assistant, which guides photographers through a consistent shot sequence, and Autoport, which streamlines media management, quality control, and publication. Combined with the Shoot for the Sun methodology, these tools help dealerships create professional inventory photos while improving speed-to-market.